
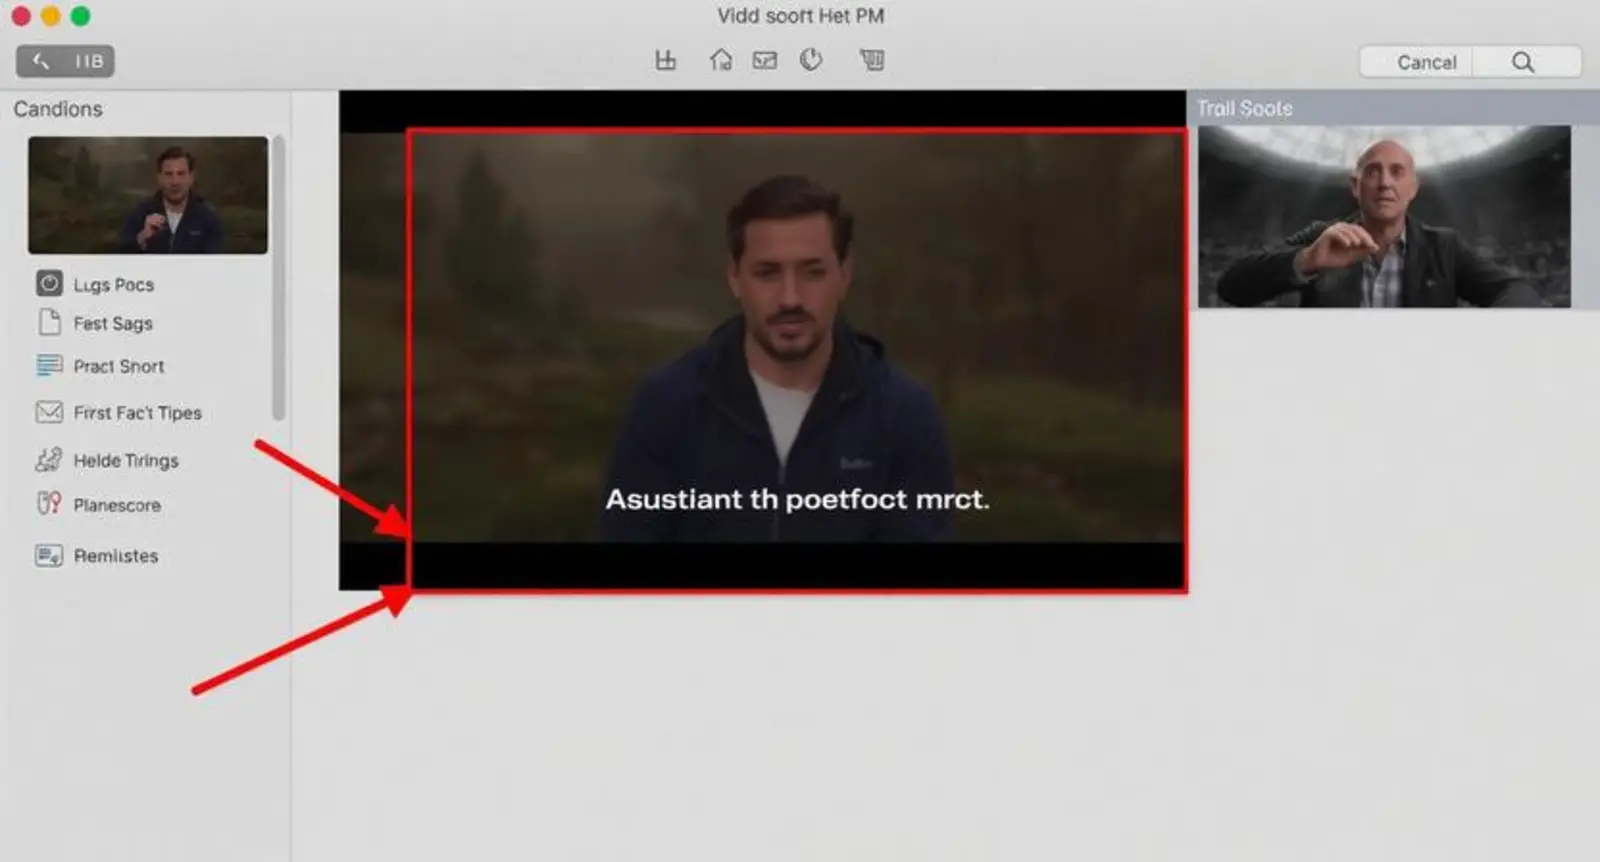
If you’ve ever watched a video on mute and still understood everything, you already know how powerful captions are.
Whether you’re editing a YouTube vlog, Instagram Reel, online course, or family montage, adding captions in iMovie can instantly boost clarity, accessibility, and engagement.
In this complete guide, you’ll learn exactly how to add captions in iMovie — on Mac, iPhone, and iPad — plus formatting tricks, timing tips, subtitle workflows, and export best practices.
Why Add Captions in iMovie?
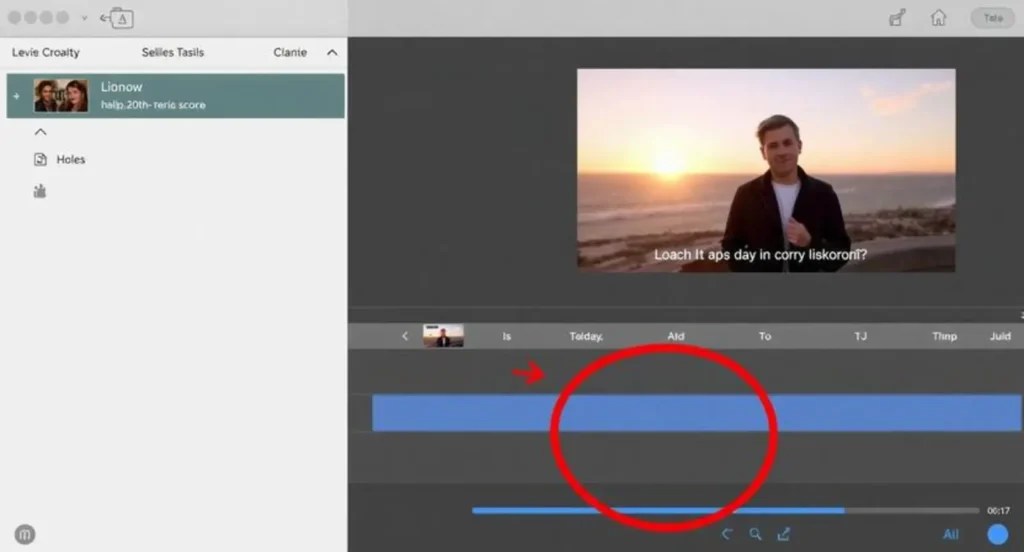
Before jumping into the steps, here’s why captions matter:
-
Many viewers watch without sound.
-
Captions increase retention.
-
They improve accessibility.
-
They help with clarity in noisy environments.
-
They make your videos more professional.
-
They support social media performance.
Now let’s get into the practical steps.
How to Add Captions on iMovie (Mac Version)
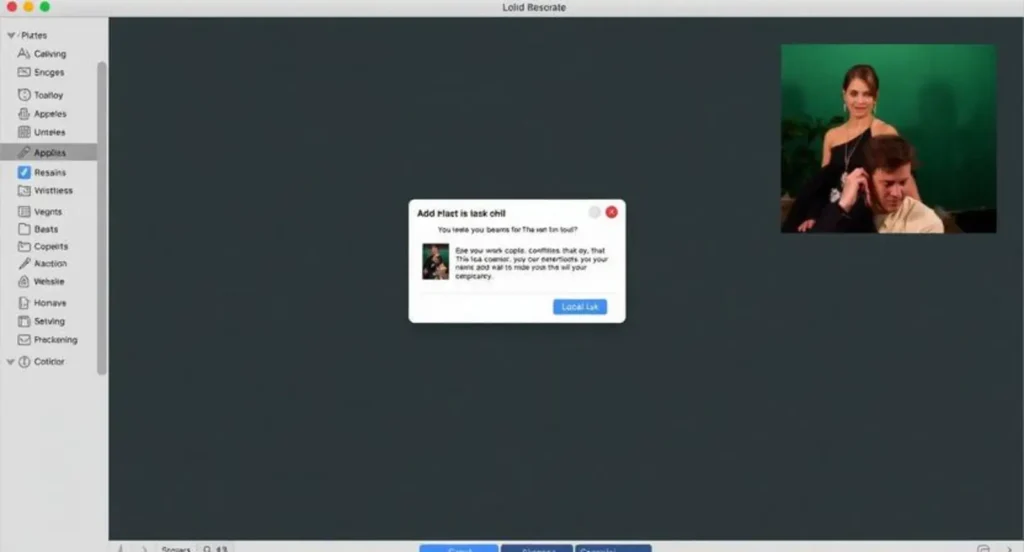
The desktop version of iMovie gives you the most control.
Step 1: Open Your Project
-
Launch iMovie.
-
Open an existing project or create a new one.
-
Import your video clip into the timeline.
Step 2: Use the Titles Feature for Captions
iMovie doesn’t have a dedicated “caption” button. Instead, captions are added using Titles.
-
Click the Titles tab at the top.
-
Browse through title styles.
-
Drag your chosen title style onto the timeline above your video clip.
Step 3: Edit the Caption Text
-
Click the text box in the preview window.
-
Replace placeholder text with your caption.
-
Adjust font, size, alignment, and color using the text editor.
Step 4: Adjust Timing
-
Drag the edges of the title bar in the timeline.
-
Match the duration to the spoken words.
-
Repeat for each caption segment.
Yes — it’s manual. But it gives precise control.
How to Add Captions on iMovie (iPhone & iPad)
The mobile version works slightly differently.
Step 1: Open or Create a Project
-
Open the iMovie app.
-
Tap Create Project.
-
Choose Movie.
-
Select your video clip.
Step 2: Add Text
-
Tap the clip in the timeline.
-
Tap the T (Text) icon.
-
Choose a text style.
-
Type your caption.
Step 3: Adjust Duration
-
Drag the yellow handles to adjust timing.
-
Split the clip if you need multiple caption segments.
To split:
-
Move the playhead.
-
Tap the clip.
-
Select Split.
-
Add new text to each section.
How to Make Captions Look Professional
Adding text is easy. Making it look polished is the difference between amateur and creator-level editing.
1. Keep It Short
Don’t overload the screen. Break long sentences into smaller segments.
2. Use High Contrast Colors
White text with subtle black shadow works best.
3. Position Consistently
Bottom-center is standard for subtitles.
4. Avoid Covering Important Visuals
If someone’s face is at the bottom, shift the caption higher.
5. Match Text to Tone
Serious video? Keep fonts clean.
Fun vlog? Slightly playful fonts can work.
How to Sync Captions Accurately
Manual captioning takes patience. Here’s how to make it easier:
-
Play at half speed to catch exact speech timing.
-
Use waveform peaks to spot spoken moments.
-
Add short captions instead of full paragraphs.
-
Preview often.
-
Fine-tune frame by frame if needed.
Can You Auto-Generate Captions in iMovie?
Short answer: No, iMovie doesn’t currently offer automatic speech-to-text captions.
If you want automatic captions, you’ll need third-party tools like:
-
CapCut
-
Descript
-
Adobe Premiere Pro
You can generate captions in those apps, export the video, and then continue editing in iMovie if needed.
Adding Closed Captions (SRT Files) in iMovie
Here’s something important:
iMovie does not support importing SRT subtitle files directly.
If you need closed captions for professional publishing:
-
Burn them into the video manually using titles.
-
Or switch to professional software like Final Cut Pro, which supports advanced caption workflows.
Best Caption Formatting Tips for Social Media
If you’re exporting videos for:
-
Instagram
-
TikTok
-
YouTube Shorts
-
Facebook Reels
Keep these in mind:
-
Larger font for vertical videos.
-
Center captions for mobile viewing.
-
Keep text above Instagram’s bottom UI area.
-
Use bold, readable styles.
-
Keep captions punchy and conversational.
How to Add Background Behind Captions
To improve readability:
-
Choose a title style with background shading.
-
Or reduce video brightness slightly under text.
-
Use a semi-transparent black background (where available).
-
Avoid bright backgrounds behind white text.
Caption Workflow for Long Videos
If your video is longer than 5 minutes:
-
Caption in sections.
-
Work scene by scene.
-
Save frequently.
-
Preview on full screen.
-
Take breaks (caption fatigue is real).
Common Problems When Adding Captions in iMovie
Text Not Showing
Make sure:
-
Title is above video clip.
-
Duration overlaps clip.
-
Text color contrasts background.
Timing Feels Off
Zoom into timeline for frame precision.
Text Looks Pixelated
Export at highest resolution (1080p or 4K).
Font Options Limited
That’s normal — iMovie has limited typography.
Exporting Your Video with Captions
Once finished:
-
Click Share.
-
Choose File.
-
Select resolution.
-
Export.
Your captions will be “burned in” — meaning they are permanently visible.
iMovie Captioning Tips from Real Creators
Based on real editing experience:
-
Short captions outperform long paragraphs.
-
Viewers rewatch captioned content more.
-
Bold text grabs attention on mobile.
-
Strategic pauses improve readability.
-
Over-captioning can overwhelm viewers.
-
Clean spacing makes videos feel premium.
Accessibility Matters
Captions aren’t just aesthetic — they improve access for:
-
Deaf or hard-of-hearing viewers.
-
Non-native English speakers.
-
Viewers in sound-off environments.
-
People watching in public spaces.
That alone makes them worth the effort.
Quick Recap: How to Add Captions on iMovie
Mac:
-
Use Titles.
-
Drag to timeline.
-
Edit text.
-
Adjust timing.
iPhone/iPad:
-
Tap clip.
-
Tap Text.
-
Choose style.
-
Adjust duration.
No auto captions.
No SRT import.
Manual but flexible.
Final Thoughts
Adding captions in iMovie takes effort — but it dramatically improves the quality, clarity, and engagement of your videos.
Even though iMovie doesn’t offer built-in auto-captioning or SRT imports, its manual caption system is more than capable for YouTube videos, Instagram Reels, online tutorials, and personal projects.
If you’re serious about content creation, captions aren’t optional anymore. They’re standard.
And once you get used to the workflow, adding captions becomes second nature.

Daniel Roberts is a tech enthusiast and writer who shares insights on gadgets, software, and innovation trends.